Table of Contents
Knowing how to string a classical guitar is a skill for anyone who wishes to play one. You might need to change the strings on your classical guitar regularly for many reasons. Wear and tear from constant playing, exposure to oils and sweat from fingers, and environmental factors can lead to a loss of tone and intonation.
Old strings may not hold their pitch correctly due to being under constant tension for so long, leading to intonation issues. Worn-out strings are more likely to snap, potentially causing damage to the guitar or even harm to the player. Old, discolored strings can make an otherwise beautiful instrument appear dull.
Considering all of these factors, it is recommended that classical guitar strings be changed regularly. Even if the guitar hasn’t been played, the strings’ tension will eventually wear them down. There are different methods for restringing a classical guitar, but this one is one of the easiest and most effective.
What Do You Need?
Other than new strings, restringing a classical guitar requires no tools. However, several tools can help reduce the required effort, and I recommend using them if possible.
Strings

At the risk of being obvious, you’ll need new strings to re-string your guitar. You can use any nylon strings according to your preference, but remember that you should never use steel strings on a classical guitar.
They will cause damage to the guitar because classical guitars aren’t usually built to withstand the tension steel strings will put on them, leading to the neck being at risk of bending and cracking. Strings with a ball end aren’t meant for use in classical guitars.
Nail Clippers or Wire Cutter
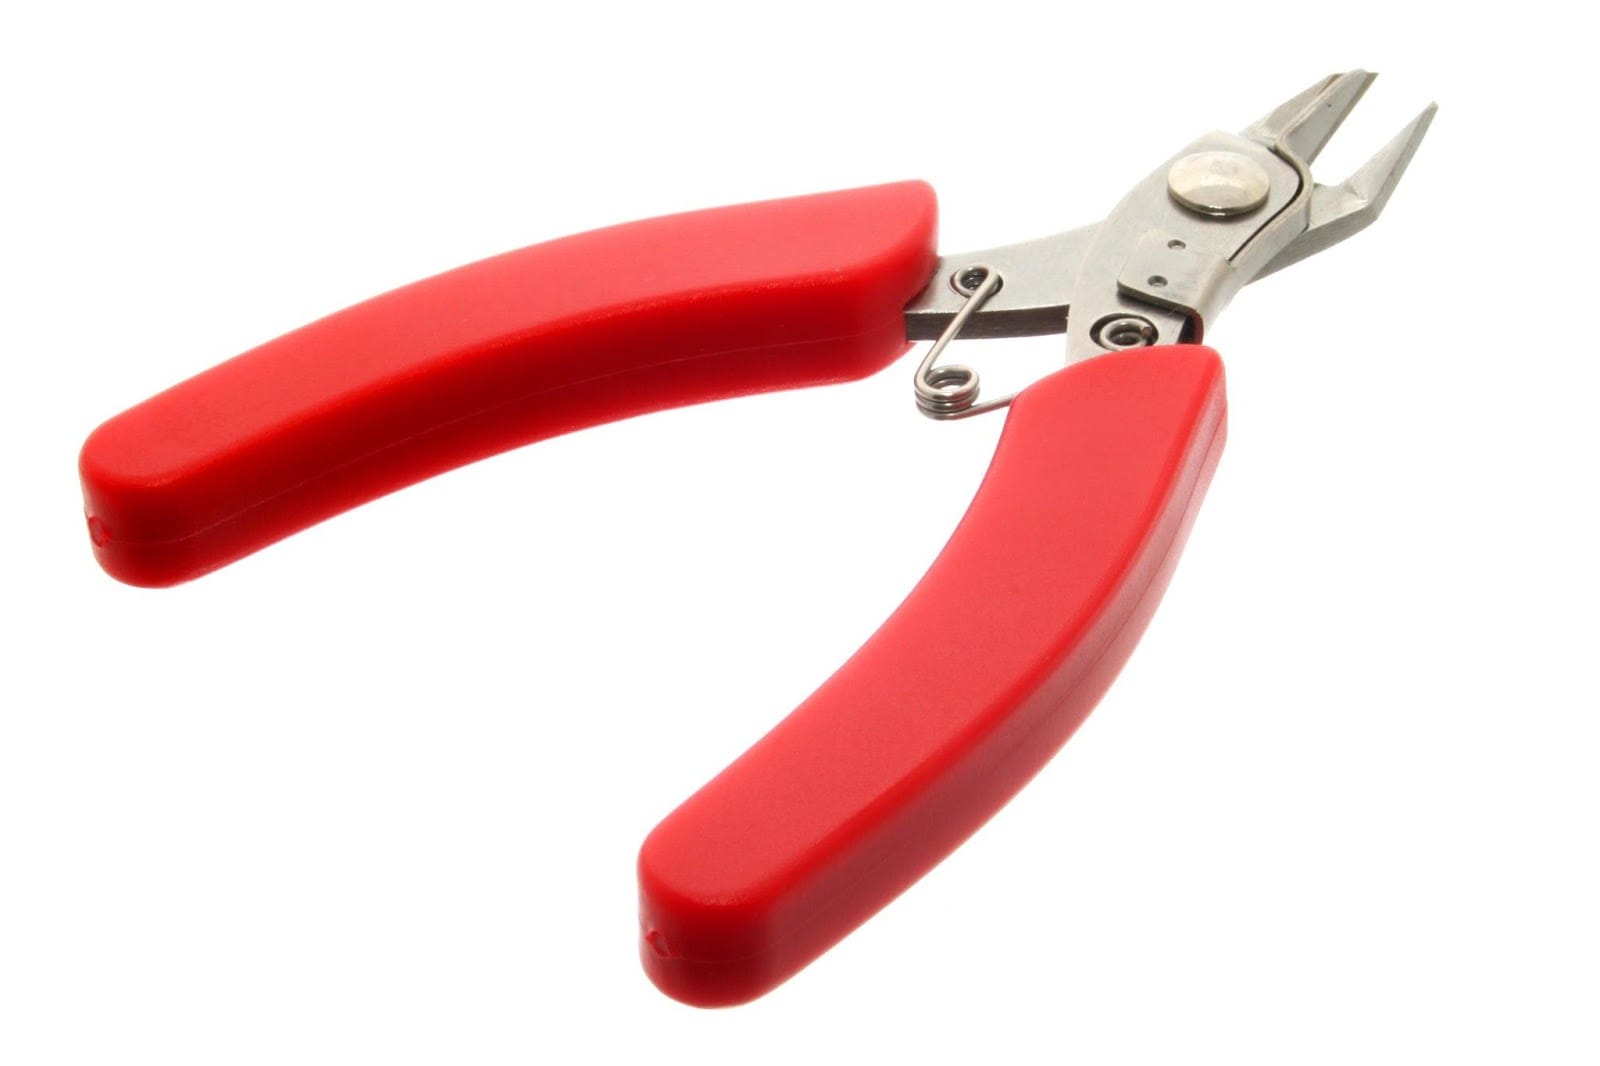
While it is possible to unwind the strings by undoing the knot on the headstock for each string and then undoing the knot on the bridge with the strings whole, it is much easier and faster just to cut the strings and slip them out since the excess length can get very awkward to handle otherwise.
String Winder
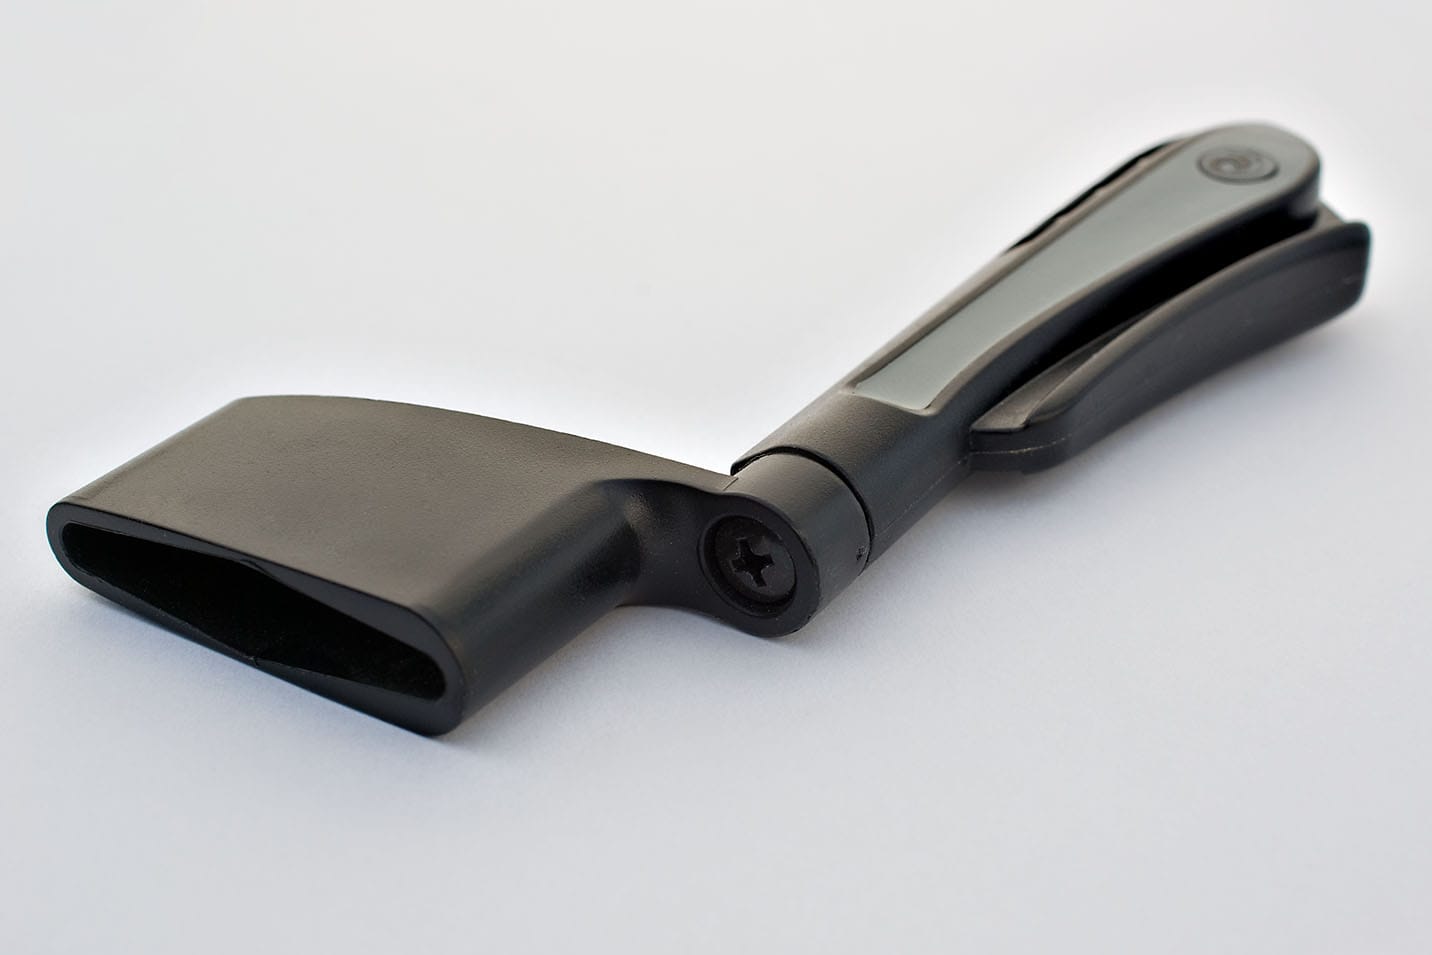
Though optional, a string winder will save you quite a bit of time and stress on your fingers.
Cleaning supplies
It is entirely optional — you can clean the fretboard and bridge after removing the strings if you want to. However, it’s still a good idea as a lot of grime and dirt can accumulate in generally inaccessible places due to the strings. The fretboards are a good example of that.
How to String a Classical Guitar Step-by-step
Step 1: Remove the Strings
First, slacken the strings thoroughly before removing them from the headboard. Use your string winder or your hand, whichever you prefer, for this part. Once the strings are only secured to the barrel by the knot, tugging on the knot—using a reasonable amount of force—is usually enough to undo the knot.
Cut the strings near the base of the bridge using your nail clippers or wire cutters. It’s easy to remove the strings by slipping the knot loop over the cut strings and then pulling on the loop, which brings the cut end out through the bridge effortlessly. If you didn’t cut the strings, ensure the excess string doesn’t damage you or the guitar.
Step 2: Attach the Strings to the Bridge
Usually, for classical guitar strings, one end has its windings wrapped a little more loosely — in other words, one end is comparatively more flexible than the rest of the string. This is the side that should be tied to the bridge. But if you feel no functional difference, either end will be fine. You should attach the string at the bridge with a knot for classical guitars.
To do this, put each of the new strings in their proper positions at the bridge by feeding each string through the hole for their position. The strings should be tagged or wrapped accordingly, so it should be easy to ensure none are put into the wrong position. Ensure there’s a fair bit left (3-4 inches) after the bridge.
You could do this in any order you want so long as no loose ends are left, but here, we’ll start tying the strings to the bridge from the treble strings.
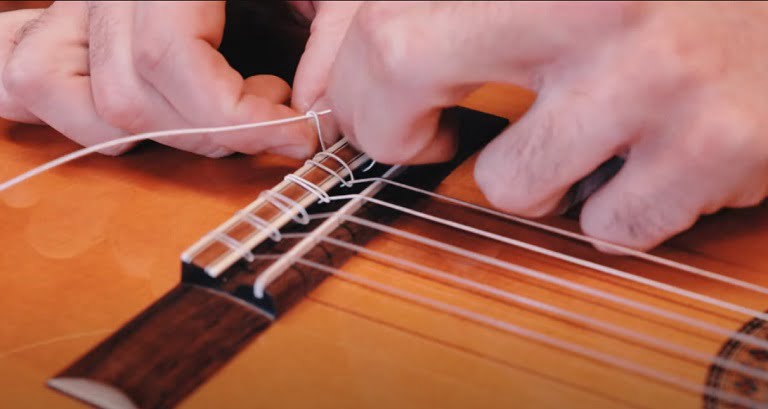
Looping The First Two Strings
First, take the first string—the e string—and bring the end underneath and then over the top of the main body of the string to create a loop. Then, pull the string end through the loop two times.

Now, make sure the remaining tail of the string can reach the following string — the B string’s position on the bridge- and then pull on the string to tie it. You can do this by pinning the string end to the board with your finger so it overlaps the following string before pulling on the string.
Repeat the process with the B string. This should tie down the loose end of the e string below its knot and leave you with its string end overlapping the G string’s position, allowing that one to do the same.
Looping The Bass Strings
Now, switch over to the bass side. Do the same process on the E string — the top string — but only do one wrap around the loop. Since the bass strings are thicker, they only need one.
The string end should overlap the A string. You might want to pin the end of the bass strings while pulling on them to minimize their movement and prevent scratching, but it’s not strictly necessary.
The single-loop bass string placement should wrap on the bridge’s underside, not over it. The process will be the same for the A string. The result should look like this:

The D string is also similar, but don’t pull the knot tight right away — you’ll need it to secure the end of the G string. The G string receives the same process as the bass strings, and it secures the loose ends of both strings to its sides.
Finally, tuck the end of the G string underneath the D string and pull it tight. This should leave the strings at the bridge adequately attached.
Check out other classical guitar techniques.
Step 3: Attach the Strings to the Headstock
You can do this step individually or for all the strings at once. Here, I will be doing them individually.
First, put the first string through the barrel of the tuning frets. For this step, it is recommended that the holes on the barrel be kept at around 45 degrees.
Next, pull on the string but hold the string to the side of your finger after placing a finger to the side of the first fret to keep a bit of slack on the string. Now, tie a simple knot on the barrel by going under the string and pulling it to tighten the knot. Cut off the excess after tightening the knot.

Don’t cut too close to the barrel to avoid the string slipping off. Now, turn the tuning peg clockwise. This will start tightening the string. Try to make it wind to the inside while tightening to avoid contact with the Woodstock.
After tightening the 1st string, move on to the 2nd string. The method should also be the same for this, with the only difference being to tie the knot going over the string instead, making it wind to the outside. For the 3rd string, you’ll have to do it the same way you did the first one. Now, move on to the bass side.
Once again, follow the same steps you followed for the treble strings, but start with the 6th string, then move on to the 5th and 4th.
Step 4: Tuning
Now that all the strings are in the right place, the last step before it is ready to use will be to tune it properly. Use a tuner to bring it up to pitch. Stretch and settle the string by gently pulling and tugging along its length. This will reduce the likelihood of tuning instability later on.
Re-tune as needed until the string holds its pitch. Once the guitar is in tune, play some chords and scales to allow the strings to settle further. Your classical guitar is now restringed and ready to be played.
Now you know how to string a classical guitar. Following these detailed steps, you can confidently re-string your classical guitar, keeping it in top condition for optimal performance.

- 6 Unique Guitar Picks That Will Blow Your Mind - February 6, 2025
- Master the Harmonic Major Scale And Intervals - February 6, 2025
- 9 Eye Catchy Unique Guitar Straps for Every Musician - February 6, 2025